Headless AtomMiner AM01 setup with Raspberry Pi
To minimize power requirements for your mining system (mining rig) we highly recommend to use Raspberry Pi or similar computer board because they are widely available, inexpensive, small and power efficient.
By default, the Raspberry Pi's official operating system, Raspbian, installs with all forms of remote access disabled. Thus one will need at least a monitor and a keyboard to configure it for the first time and install AtomMiner software to begin mining. But the good news is that we've prepared OS image that comes with AtomMiner software installed and can be configured without connecting your Pi to a monitor. By following instructions below, you can create a headless Raspberry Pi that is ready for remote access and mining upon its very first boot.
We hope this guide will help to jump start your energy efficient mining with AtomMiner miners.
Download Raspbian
We've used official Raspbian OS images provided by the Raspberry Pi Foundation to build following mining ready setups on top of them: Raspbian Buster with desktop* and Raspbian Buster Lite*.* Provided images are identical to those provided by Raspberry Pi, except installed and configured AtomMiner software. Please visit Raspbian webpage for licensing options and more info.
| OS Image | sha1sum | Size | Download |
|---|---|---|---|
| Raspbian Buster with AtomMiner and desktop OS image with desktop based on Raspbian desktop |
ca4f815d51841628d09dd96f173b52d33840e73d | 919.8 Mb | raspbian-buster-atomminer.img.xz |
| Raspbian Buster Lite with AtomMiner Minimal OS image based on Raspbian Lite |
988fb9948e612a7c28396b4842c285dc78791f51 | 512.9 Mb | raspbian-buster-lite-atomminer.img.xz |
Install OS image to the microSD card
We recommend to use Etcher to copy downloaded image to your microSD card: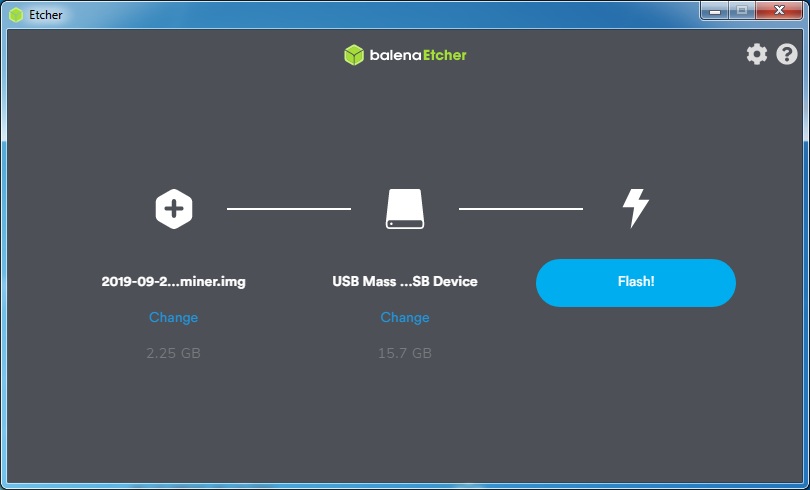
On Mac and Linux: it should appear on the desktop with the name boot
On Windows: it should appear in File Explorer with the name boot followed by a drive letter.
Enable Remote access (optional)
For security reasons, ssh is not enabled by default. To enable it you need to place an empty file named ssh (no extension) in the root of the boot disk: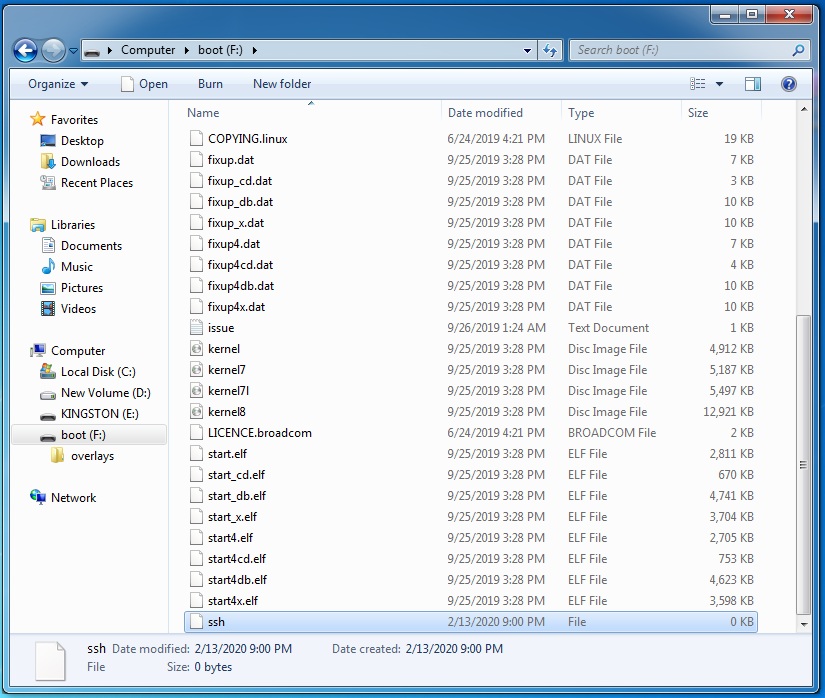
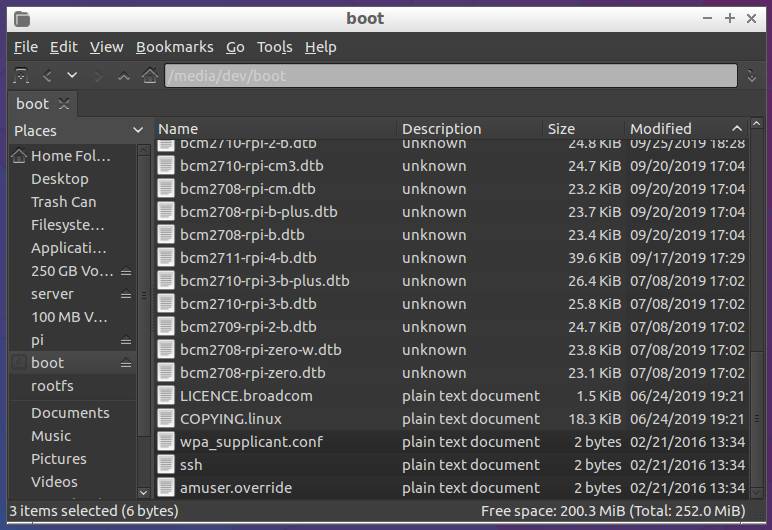
Headless WiFi/Ethernet setup
WiFi setup is only applicable to Raspberry Pi models that have Wifi module: Raspberry Pi 3, Raspberry Pi 4, Pi Zero W or similar. If you don't have WiFi module or planning to use wired network, please skip to the next step.To setup a Wi-Fi connection on your headless Raspberry Pi, create a text file called wpa_supplicant.conf, and place it in the root directory of the microSD card. You will need the following text in the file:
country=US
ctrl_interface=DIR=/var/run/wpa_supplicant GROUP=netdev
update_config=1
network={
scan_ssid=1
ssid="your_wifi_ssid"
psk="your_wifi_password"
}
Ethernet setup
Ethernet setup is only applicable to Raspberry Pi models that have Ethernet module: Raspberry Pi 1, Raspberry Pi 2, etc.If you plug your Raspberry Pi directly to a wired network, you should be able to access it by its IP address or name (raspberrypi or raspberrypi.local) without changing any other files.
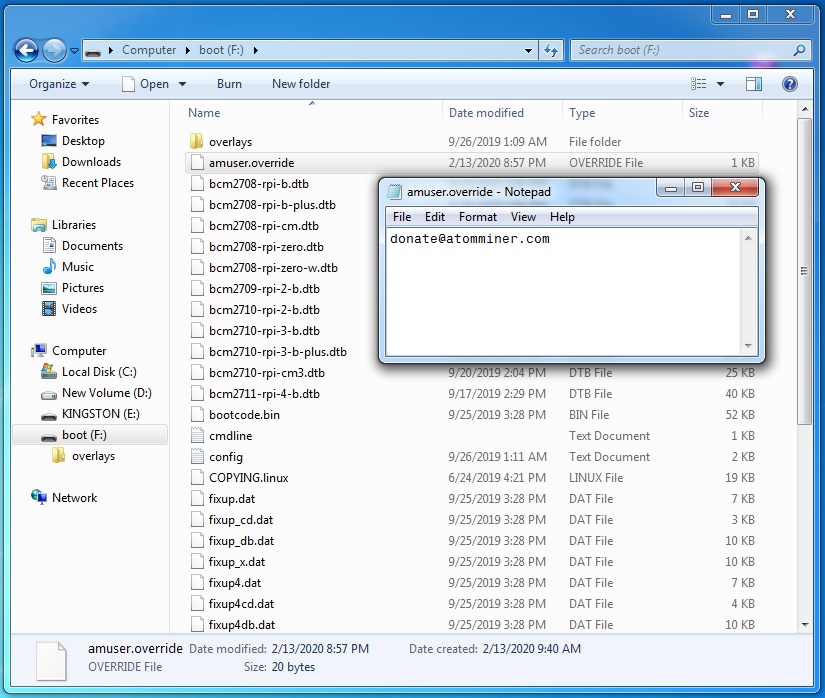
Configure miner
AtomMiner software is already installed and configured to work in profit-switching mode that will try to mximize miner's earnings when possible. All you need to do is to create a text file called amuser.override, and place it in the root directory of the microSD card.Please enter your registered and activated email in the amuser.override. Miner will start mining with this address upon Raspberry Pi boot.
All set to start mining
Now you can eject your microSD card, plug it in your Raspberry Pi and let it boot. AtomMiner AM01 miner(s) can be plugged in at any moment. Minig start automatically upon boot.In some rare cases, you might want to reboot your Raspberry Pi after initial boot and initialization in order to begin mining.
Miner software is starting upon boot under default user pi in background named terminal. To summon mining log, you can issue following command in the Pi's terminal (either on Pi itself or via ssh):
screen -r atomminer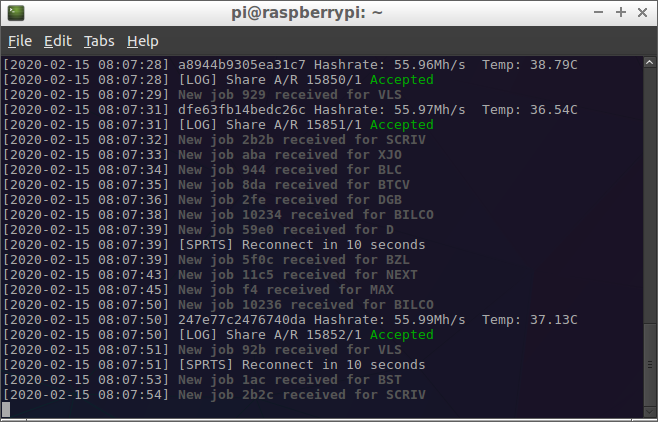
Final setup
This is the minimal and most power efficient setup possible with AtomMiner AM01 miner. Whole mining system consumption should not exceed 24W even on power-greedy algos like keccak. Average power consumption should stay around 15-16W with profit switching when mining with boards like Raspberry Pi Zero W.You final setup could like one of these:


